Do you hate doing things manually? Do you hate reading through forums and blogs to solve problems? I do, that's why I write scripts to solve problems. They are concise and usually fairly readable. I referenced Niall Brady's blog: http://www.windows-noob.com/forums/index.php?/topic/11071-how-can-i-increase-the-smstslog-file-size-for-pxe-based-os-deployments-using-system-center-2012-r2-configuration-manager/ for the solution, so thank you very much Niall! I have difficulty remembering the individual steps at times, so I like to script it out as a quick reference and to create a repeatable process. In this case, I wanted to increase the log size while in WinPE during Operating System Deployment (OSD) task sequences. If you want the specific detail, please refer to Niall's blog, otherwise modify the variables in the script to suit the needs of your environment. Just change the variables, run the script, and update your boot images on the DPs and you're all set!
Here's a link to the script: http://1drv.ms/1U58mzr
Friday, August 21, 2015
Thursday, June 4, 2015
Creating ConfigMgr-MDT Task Sequence Templates
Ever wondered how to create custom SCCM templates when MDT is integrated? Wonder no further, I have written a little script that should make the process seamless.
All you need to do is customize the variables in the script to your preferences and provide a reference task sequence to create your template. I saved my templates here on my local machine: "C:\Program Files\Microsoft Deployment Toolkit\SCCM\" so that the template was immediately available for use in the ConfigMgr console.
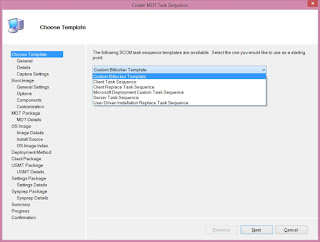
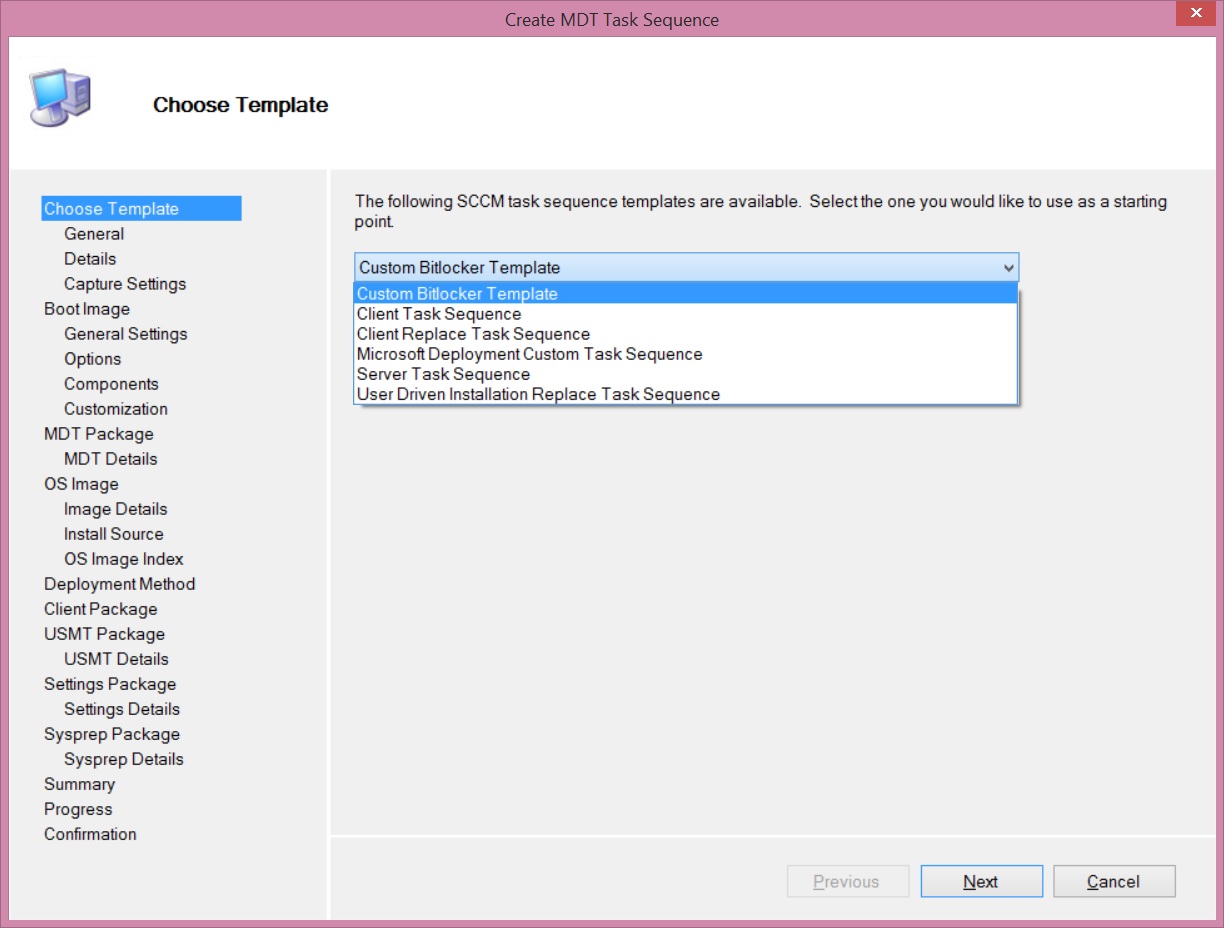
To access the new template, simply right click on Task Sequences in the console and select "Create MDT Task Sequence."

Good luck!
The script can be found here: http://1drv.ms/1dPFhuk
All you need to do is customize the variables in the script to your preferences and provide a reference task sequence to create your template. I saved my templates here on my local machine: "C:\Program Files\Microsoft Deployment Toolkit\SCCM\" so that the template was immediately available for use in the ConfigMgr console.
To access the new template, simply right click on Task Sequences in the console and select "Create MDT Task Sequence."

Then simply select your new task sequence, mine is called "Custom Bitlocker Template".
Good luck!
The script can be found here: http://1drv.ms/1dPFhuk
Friday, May 8, 2015
Windows 8.1 De-duplication, Mounting VDHX, and Symlinking...oh my
First of all, I realize that this isn't an ideal setup for everyone, but for my home lab I found that this worked pretty well. My dilemma was such: I had a home lab setup on my desktop PC running Windows 8.1 with Hyper-V on a 500GB SSD but was running out of room quickly. De-dup is not supported on system or boot volumes, so I had to come up with a different solution.
I borrowed much (most) from Johan Arwidmark over at deploymentresearch.com: http://deploymentresearch.com/Research/Post/406/Beyond-Zip-How-to-store-183-GB-of-VMs-in-a-16-GB-file-using-PowerShell and Teh Wei King's System Center Blog: https://weikingteh.wordpress.com/2013/01/15/how-to-enable-data-deduplication-in-windows-8/
Here's a brief outline of what I'll cover here:
- Create VHDX file, mount it to a drive letter, copy files.
- Enable Dedup on Windows 8.1.
- Dedup the VHDX volume.
- Create symlinks to the new location.
- Automatically mount VHDX files on boot.
It should be immediately pointed out that de-dup is not officially supported in Windows 8.1, however, when it works, it's really dang awesome! Additionally, symlinking is really not necessary at all, but it is really nice if you don't want to re-install applications, re-link paths to VHDXs, etc.
- Create VHDX file, mount it to a drive letter, copy files. Create the VHDX file using Create-VHDX.ps1. It will automatically mount the VHDX to a drive letter. After mounted, copy your VMs, files, apps, etc. to the new drive.

- Enable Dedup on Windows 8.1. First, grab the CAB files to enable the features in Windows 8.1. Make sure you copy the CAB files to the directory that you plan on running Enable-Win81Dedup.ps1 from or you'll need to specify the full paths to the CABs.

- Dedup the VHDX volume using Dedup-VHDX.ps1. You can check to see how we did by running a Get-DedupStatus command.

- Create symlinks by specifying the link and target directories with New-SymbolicLink.ps1.

- Automatically mount VHDX files on boot. There are at least a few ways to mount the VHDX on boot, however I found it difficult to consistently get the same drive letter, which was important since I wanted to create symlinks, so I chose to implement using a scheduled task and diskpart. You can create the scheduled task to mount the vhdx on boot by running Map-VhdxOnBoot.ps1.


Okay that's it! We're done! I hope you found this to be an useful exercise in how these somewhat unrelated capabilities can be paired together in an interesting way.
You can grab all of the scripts referenced in this article from here: http://1drv.ms/1zRejwj and the CAB files for enabling the dedup features can be found here: http://1drv.ms/1zReszA
Subscribe to:
Posts (Atom)